


See part 19 in the diagram
( Grid squares measure 1x1 inch )


Product Description
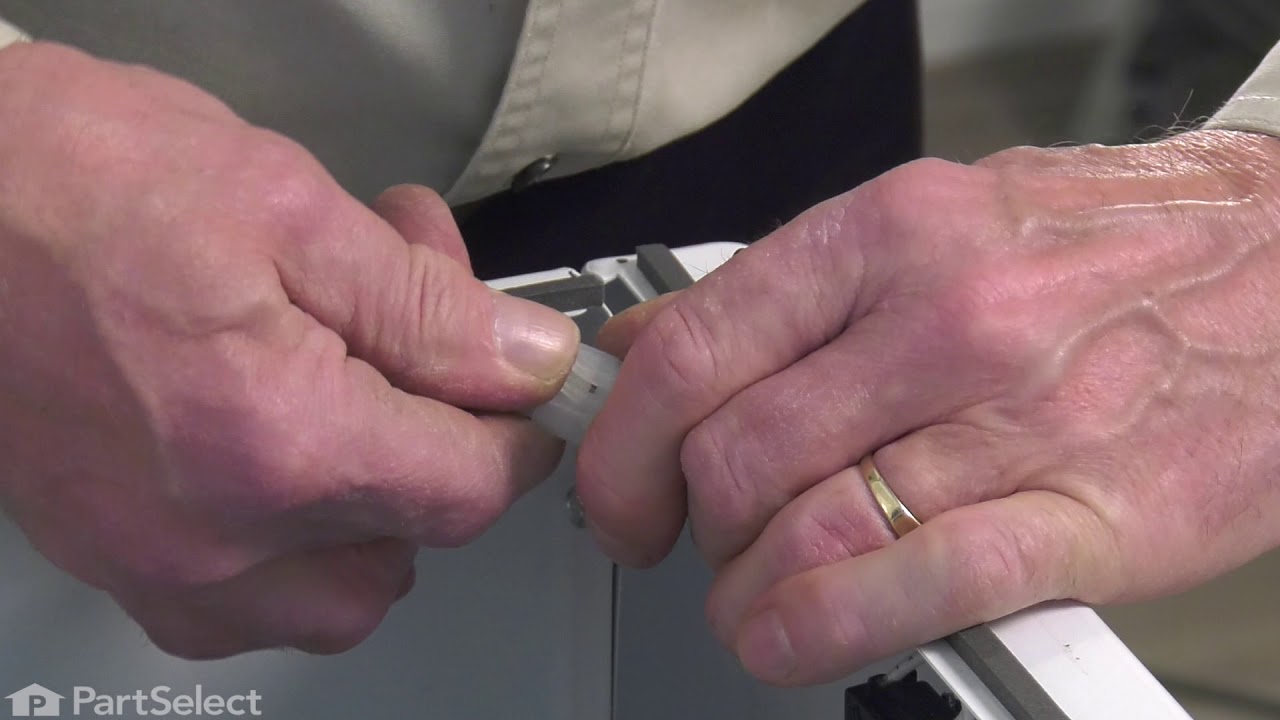
Door Switch with Wire Specifications
This part is what tells the dryer to stop running when the door is open.

How Buying OEM Parts Can Save You Time and Money
Troubleshooting
This part works with the following products:
Dryer, Range.
This part works with the following products:
Whirlpool, Kenmore, KitchenAid.
Part# WP8283288 replaces these:
AP6012427, 4165281, 4371407, 8283288, 8519323, 865677
Customer Reviews
Filter By Rating:
- < Prev
- 1
- Next >
Sort by:
Search filter:
Clear Filter
Your search term must have 3 or more characters.
Keep searches simple. Use keywords, e.g. "leaking", "pump", "broken" or "fit".
Sorry, we couldn't find any existing reviews that matched. Try using some different or simpler keywords.
Leonard & M - December 7, 2019
Verified Purchase
Exactly what we needed to fix our whirlpool dryer
Thank you for having these parts available and the videos to how to fix them
Carl R - August 7, 2019
Verified Purchase
Perfect
Was the right part and it fixed my dryer :)
- < Prev
- 1
- Next >
Customer Repair Stories
Average Repair Rating: 3.0 / 5.0, 2 reviews.
What's this?
- < Prev
- 1
- Next >
Sort by:
Search filter:
Clear Filter
Your search term must have 3 or more characters.
Keep searches simple. Use keywords, e.g. "leaking", "pump", "broken" or "fit".
Sorry, we couldn't find any existing installation instruction that matched.
Dryer would not start - bad door switch
Removed to top panel - two screws in the back
Removed the screws from the metal panel holding the electronic board, remove the wire clips and rotated the metal panel up and out of the way.
Disconnected the three wire connector to the door switch cable - There must be a special tool for this as a basically destroyed the connector on the door switch cable.
Use a pliers to pull out the door switch from the front. This was not easy and I wound up having to destroy the door switch to get it out.
Inserted the new door switch cable first from the fron of the dryer and connected the new door switch cable connector to the dryer wiring harness.
Rotated the main electronic panel back in place, re-inserted the cable harness and re-inserted the bracket screws.
Re-installed the top panel and screws.
Other Parts Used:
-
Paul from Robbinsville, NJ
-
Difficulty Level:A Bit Difficult
-
Total Repair Time:30 - 60 mins
-
Tools:Nutdriver, Pliers, Screw drivers
24 of 43 people
found this instruction helpful.
Was this instruction helpful to you?
Thank you for voting!
Dryer would power up. but would not start when start button selected
I referred to the dryers tech sheet for troubleshooting. The start switch was found bad. However, all other connection looked good and control module board appeared ok until I removed it from the machine. Found bottom of board, directly under the motor relay, scorched and burnt. All other components checked out ok. A new $300.00 board would be needed to fix the problem. Not worth fixing a 10yr. old machine! New dryer on order. Sometimes you just can't make a silk purse out of a sows ear! I returned the start switch that took over 8 days receive it. Lesson learned; electronic control boards have two sides. Always visually inspect both sides. It will save you alot of wasted troubleshooting time.
Other Parts Used:
-
Andrew from OAK HARBOR, WA
-
Difficulty Level:Easy
-
Total Repair Time:30 - 60 mins
-
Tools:Nutdriver, Pliers, Screw drivers, Socket set
3 of 3 people
found this instruction helpful.
Was this instruction helpful to you?
Thank you for voting!
- < Prev
- 1
- Next >
Questions and Answers
We're sorry, but our Q&A experts are temporarily unavailable.
Please check back later if you still haven't found the answer you need.
- < Prev
- 1
- Next >
Sort by:
Search filter:
Clear Filter
Your search term must have 3 or more characters.
Keep searches simple. Use keywords, e.g. "leaking", "pump", "broken" or "fit".
Sorry, we couldn't find any existing answers that matched.Try using some different or simpler keywords, or submit your new question by using the "Ask a Question" button above!
Anne
April 28, 2022
how do I replace part # PS11745635? It is located bottom left on opening.
below the door hinge) Cant find a "Steve" video. Please walk me through
thanks
anne
For model number 11086562500 kenmore

Hello Anne, Thank you for your inquiry. Although we do not have a repair video for this exact part number, we have included a link to our video for a similar door switch to give you a general idea of the repair. We hope this helps and if you need a part in the future and need help placing an order, customer service is open 7 days a week. Please feel free to give us a call. We look forward to hearing from you!
Was this helpful?
Thank you for voting!
- < Prev
- 1
- Next >
Related Parts

$24.95
In Stock

$27.35
In Stock
Produce Preserver Filter
$27.35
PartSelect Number: PS3503014
Fresh Flow Produce Preserver is made for your refrigerator to help keep produce fresh for longer by absorbing the chemical, ethylene, that causes your fruits and vegetables to ripen quicker. Your produce could be fresh f... 
$16.01
In Stock
Affresh Washing Machine Cleaner - 3 pack
$16.01
PartSelect Number: PS1960673
This front load washer cleaner removes odor-causing residue. Use it once a month and it will keep your machine fresh and clean. Package comes with 3 tablets. 
$29.30
In Stock

$42.42
In Stock
Solid Element Cleaner
$42.42
PartSelect Number: PS474316
This solid element restorer is for ranges and cooktops. Solid element restorer restores and protects solid elements from rusting and spotting. Follow the instructions on the label when using this product. 
$39.34
In Stock
Oven Cleaning Gel
$39.34
PartSelect Number: PS12366520
This low-odor gel, easily cleans away tough burnt-on deposits at room temperature. Apply the gel evenly on the cooled oven surface. Leave the gel to set overnight then wipe away with a clean cloth. 
$22.95
In Stock
Cooktop Cleaning Cream
$22.95
PartSelect Number: PS12717774
Make your cooktop shine with Frigidaire ReadyClean Glass and Ceramic Cleaner. Our scratch-free, streak-free formula removes smudges, grease, burnt-on food, dirt and oil, while protecting and polishing to repel dust and d...
Model Cross Reference
This part works with the following models:
PartSelect Number: PS11745635
Manufacturer Part Number: WP8283288
Manufacturer Part Number: WP8283288
Brand
Model Number
Description